GitHub Pages와 Jekyll을 사용한 정적 블로그 구축
Updates
22.07.12
최신 환경 업데이트19.01.01
Ruby버전, Gemfile내용 수정
Notes
Apple Silicon + macOS Monterey 환경을 기준으로 합니다.
GitHub Pages + Jekyll
GitHub에서 제공하는 정적 웹 사이트 서비스인 GitHub Pages는 Git 저장소에 새로운 커밋이 추가 될 때마다 업데이트 되는 사이트를 만들 수 있으며, 정적 사이트 생성기인 Jekyll을 함께 사용하면 좀 더 쉽게 사이트의 레이아웃을 편집 할 수 있다.
데이터베이스를 쓰지 않기 때문에 댓글기능은 타사 서비스를 사용하거나(disqus) 직접 만들어야 한다.
Jekyll 설치
Jekyll을 로컬환경에서 실행하기 위해서는 특정 버전 이상의 Ruby가 필요하다. Ruby는 Homebrew를 사용해 설치한다.
-
Homebrew 설치
https://brew.sh/ -
openssl@1.1 설치
❯ brew install openssl@1.1rbenv로 새 Ruby를 설치할 때 openssl1.1버전이 필요하며, brew로 설치해주어야 한다.
-
brew info openssl@1.1
openssl@1.1 is keg-only, which means it was not symlinked into /opt/homebrew,
because macOS provides LibreSSL.

If you need to have openssl@1.1 first in your PATH, run:
  echo 'export PATH="/opt/homebrew/opt/openssl@1.1/bin:$PATH"' >> ~/.zshrc

For compilers to find openssl@1.1 you may need to set:
  export LDFLAGS="-L/opt/homebrew/opt/openssl@1.1/lib"
  export CPPFLAGS="-I/opt/homebrew/opt/openssl@1.1/include"

For pkg-config to find openssl@1.1 you may need to set:
  export PKG_CONFIG_PATH="/opt/homebrew/opt/openssl@1.1/lib/pkgconfig"
brew info로 출력되는 메세지 중, export로 시작하는 설정들을 자신이 사용하고 있는 Shell의 설정에 추가한다. 필자는 zsh을 사용하며, 설정은 ~/.zshrc파일을 사용하고 있다.
-
Shell rc파일에 openssl 설정 추가
# openssl
export PATH="/opt/homebrew/opt/openssl@1.1/bin:$PATH"
export LDFLAGS="-L/opt/homebrew/opt/openssl@1.1/lib"
export CPPFLAGS="-I/opt/homebrew/opt/openssl@1.1/include"
export PKG_CONFIG_PATH="/opt/homebrew/opt/openssl@1.1/lib/pkgconfig"
/opt/homebrew 경로는 CPU종류 (Apple Silicon / Intel)에 따라 달라질 수 있다.
-
터미널 재시작 후, openssl 의 위치 출력
❯ which openssl
/opt/homebrew/opt/openssl@1.1/bin/openssl
위 경로 중 /bin/openssl을 제외한 앞 부분을 아래에서 사용한다.
-
rbenv, ruby-build 설치
❯ brew install rbenv ruby-build -
Shell rc파일에 rbenv 설정 추가
# rbenv
export RUBY_CONFIGURE_OPTS="--with-openssl-dir=/opt/homebrew/opt/openssl@1.1"
eval "$(rbenv init - zsh)"
–with-openssl-dir=다음에 위에서 which openssl로 찾아낸 openssl@1.1경로를 입력
-
터미널 재시작 후, 최신버전 Ruby설치
❯ rbenv install --list 2.6.10 2.7.6 3.0.4 3.1.2 # Major버전 3에서 가장 최신 jruby-9.3.6.0 mruby-3.1.0 picoruby-3.0.0 rbx-5.0 truffleruby-22.1.0 truffleruby+graalvm-22.1.0 ❯ rbenv install 3.1.2 # 가장 최신버전을 사용 Downloading ruby-3.1.2.tar.gz... -> https://cache.ruby-lang.org/pub/ruby/3.1/ruby-3.1.2.tar.gz Installing ruby-3.1.2... ruby-build: using readline from homebrew -
설치된 Ruby버전 확인
❯ rbenv versions * system (set by /Users/lhy/.rbenv/version) 3.1.2 -
rbenv로 설치한 Ruby를 사용하도록 전역설정 변경
❯ rbenv global 3.1.2 ❯ rbenv versions system * 3.1.2 (set by /Users/lhy/.rbenv/version) -
Ruby의 패키지 관리자인 gem을 사용해 Jekyll, bundler설치
❯ gem install jekyll bundler -
블로그를 생성할 위치로 이동, Jekyll 블로그 프로젝트 생성
❯ jekyll new blog # blog는 생성할 디렉토리 이름으로 변경 가능 -
생성된 디렉토리로 이동, 로컬에서 블로그 서버 실행
❯ cd blog # 생성한 이름의 디렉토리로 이동 ❯ bundle add webrick # Jekyll 실행 위해 필요한 추가 라이브러리 ❯ bundle exec jekyll serve -
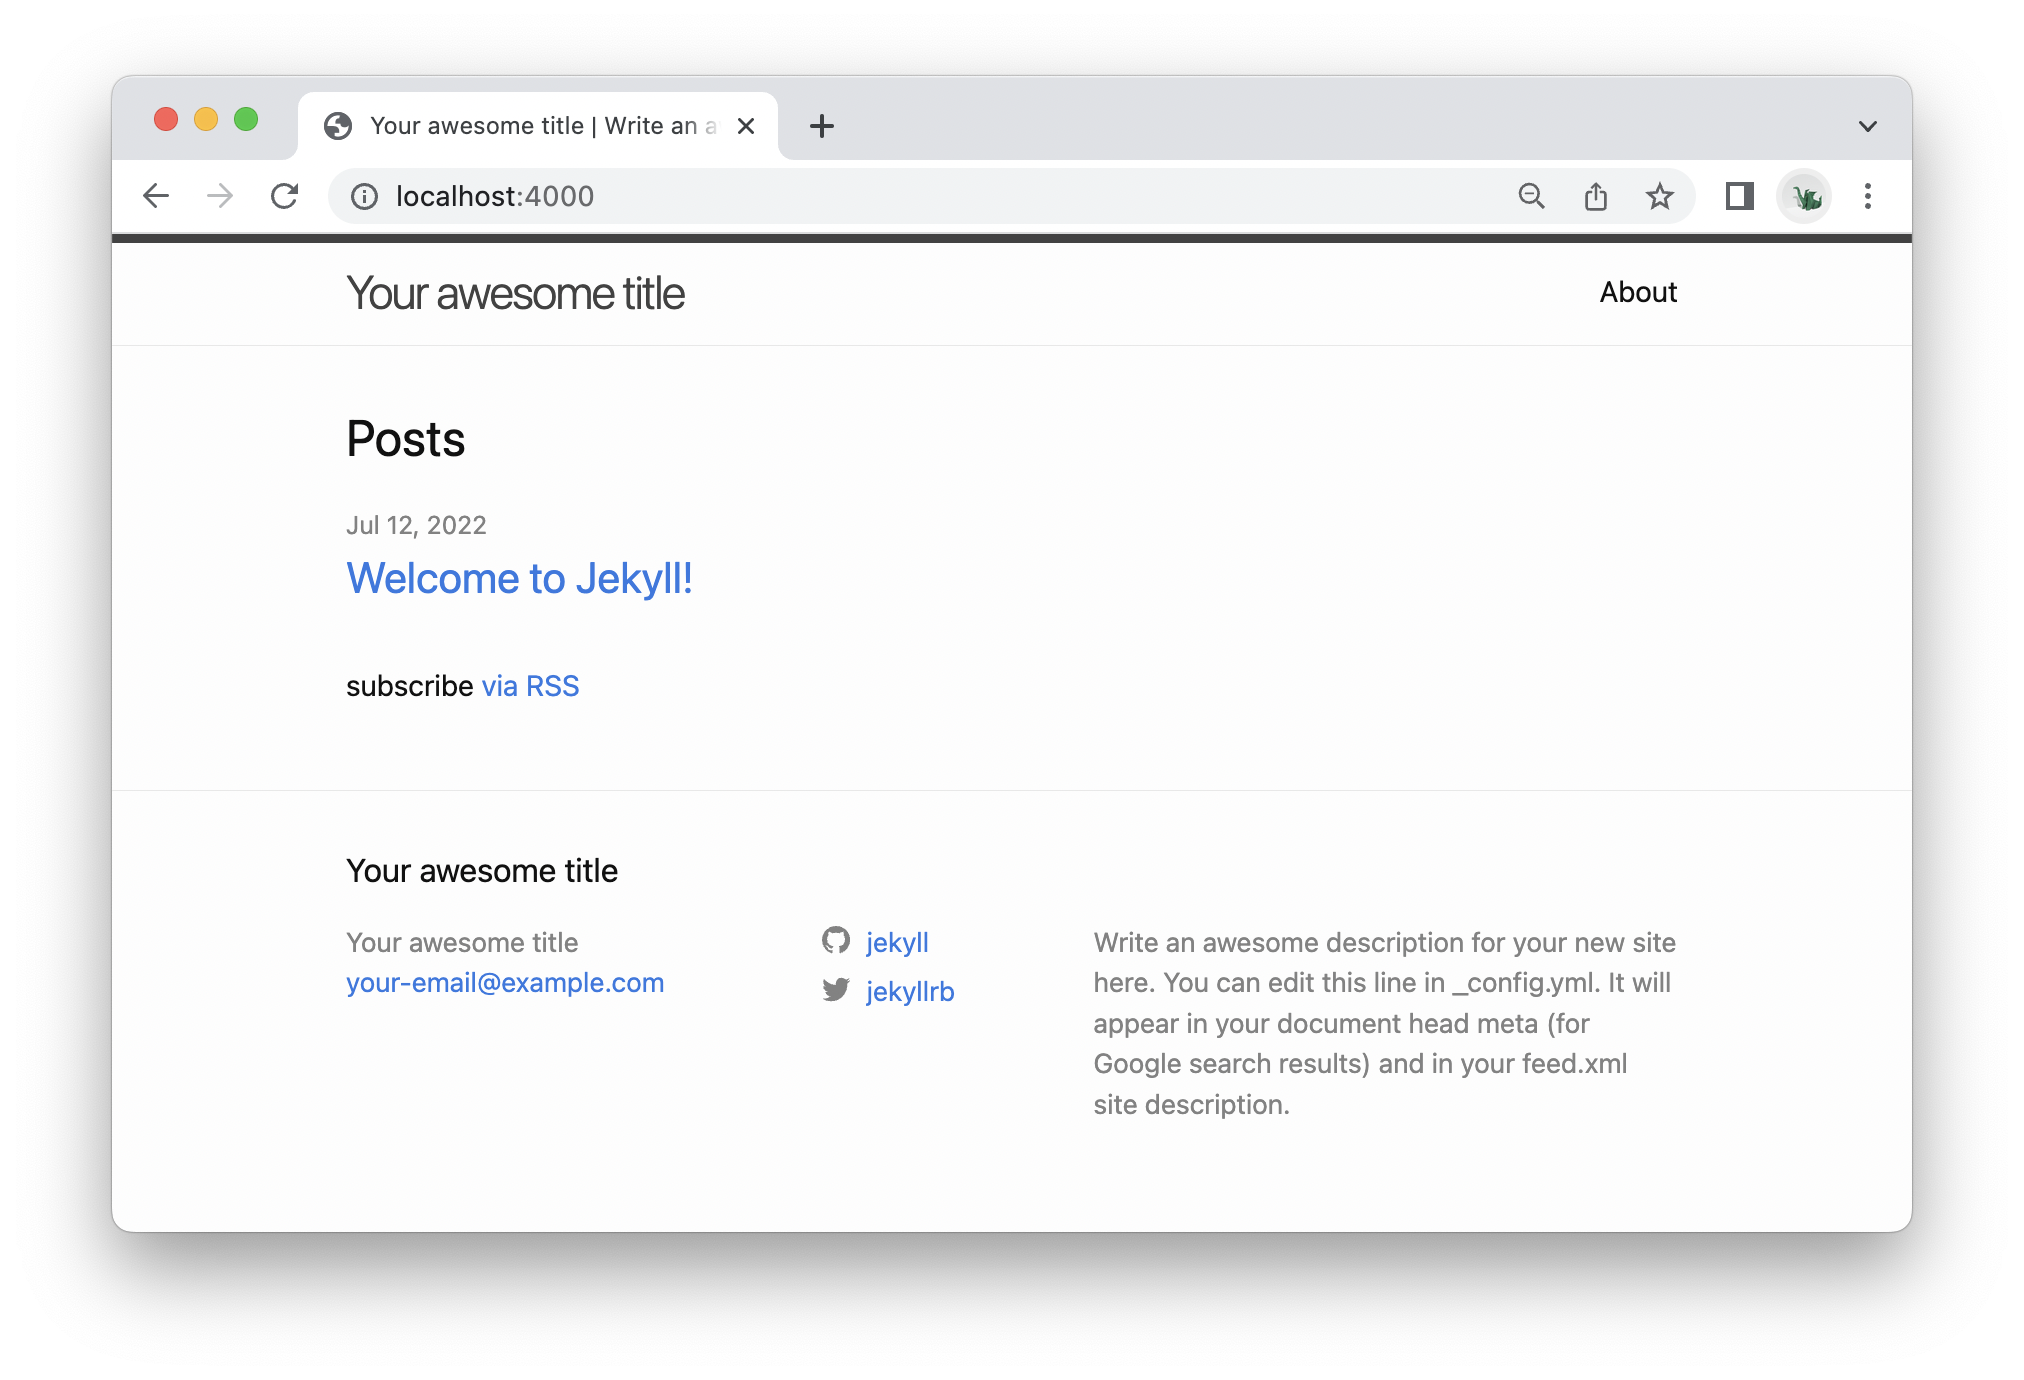
localhost:4000에서 실행 확인
글 작성
Jekyll에서 글은 기본값으로 Markdown형식을 사용하며, _posts 디렉토리 내에 있는 YYYY-MM-DD-title.markdown 형식의 파일 하나당 하나의 글이 된다.
jekyll new로 만들어진 프로젝트 내에 하나의 글이 있으니 해당 내용을 기반으로 새 글을 작성하고, 아래의 배포를 진행해보자. 여기서 Jekyll에서의 글 작성법이나 문법은 다루지 않는다. 자세한 내용은 공식사이트를 참조한다.
GitHub Pages 배포
-
로컬 Git저장소 초기화, 변경사항 커밋
# 블로그를 생성한 디렉토리 내에서 실행 ❯ git init Initialized empty Git repository in /Users/lhy/projects/blog/.git/ ❯ git add -A ❯ git commit -m 'First commit' -
GitHub에 Pages용 리모트 저장소 생성
GitHub사용자명.github.io으로 저장소를 생성한다. (필자의 경우 LeeHanYeong.github.io) -
리모트 저장소 지정, Push
❯ git remote add origin {저장소 주소} ❯ git push -u origin main -
잠시 기다리면 서버에 배포
https://{자신의계정명}.github.io 로 접속해서 확인